Our art birthday party was a success! It rarely rains on summer morning in Denver, but our party day was cold and drizzly so we had to move our art activities indoors. Luckily, we have a half-finished basement and the kids could go crazy with sand and paint without causing too much damage. I tend to rely on our large backyard for events since our living room and kitchen are pretty small, but we managed to find enough indoor seating for all of our guests. Even though it was a bit cozy, everyone had a good time celebrating with our five year old.
Balloon, globe, & pom-pom cluster:
 |
| Can you see our very large, wet dog enjoying the rain? |
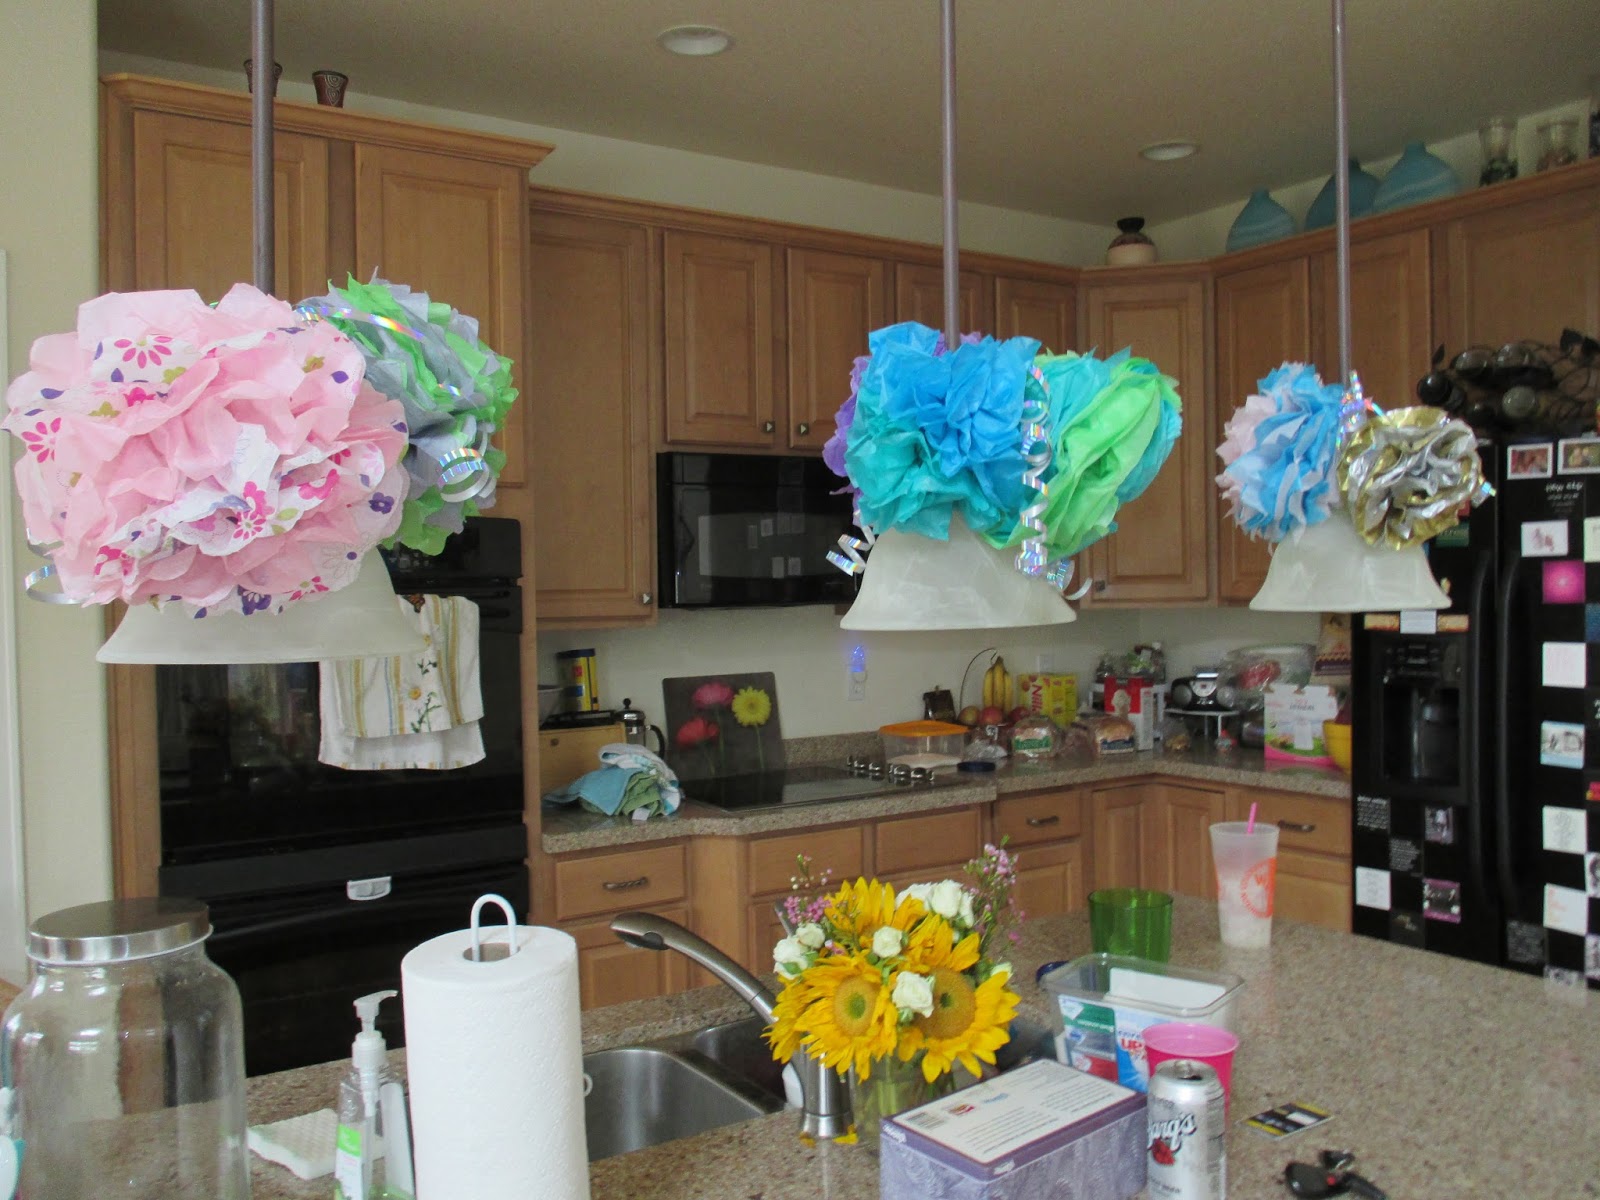
The beauty of this decoration is that it is simple to put together and makes a big impression. You can blow up the balloons the night before, since a little deflation won't look bad. I chose the hanging lights over our kitchen table for this cluster since it is a nice focal point. The globes came ready made, but the pom-poms were made by hand.
Pom-Pom Materials Needed:
Tissue paper
Floral wire
Heavy duty scissors
Ribbon
Stack approximately 6-10 layers of tissue paper on top of each other. Make accordion folds down the entire length of the tissue paper and wrap a short length of floral wire around the center of the stack; I prefer to use floral wire to ribbon because of the extra stiffness. You can cut the edges of the tissue paper to give your pom-pom a different look: a rounded edge makes it look wavy, while a triangle edge makes it look a bit sharper, and just leaving the edges straight looks more like a traditional pom. Slowly peel each layer of tissue paper up or down towards the center, until you have a three-dimensional shape. Attach a length of ribbon to the wire to hang the pom-pom, and gently shake or fluff the paper to make it look full.

The more sheets of tissue paper that are used, the more difficult it is
to cut the edges and fluff the layers without them tearing. For the largest poms, use
full-length tissue paper; cut the paper into smaller sections for
medium or small poms. For more visually interesting poms, alternate the colors of tissue paper or use different colors on each half of the pom. I used 'happy birthday' tissue paper for some of the poms, and any seasonal paper could be used for the individual occasion. After tying the poms around the hanging kitchen lights, I added some curled lengths of ribbon. This was a fun, inexpensive party decoration to make. My little one is very excited to hang these decorations in her room when we finally take them off of the kitchen lights.

No comments:
Post a Comment